Skip to main content


Step by Step Guide on How To Apply Liquid Foundation
Foundation can go one of two ways: expertly applied or woefully wrong.
A tool that can help even out skin tone, offer coverage for imperfections, and give other makeup products a smooth surface to cling to, foundation is essential in any makeup bag. However, applying it correctly takes a little finesse. Knowing how to apply foundation well comes down to three things: thoughtful prep, the right formula, and a light hand.
Your foundation can also do more than cover. A formula made with skin-loving, living ingredients works with your skin to support hydration and radiance while you wear it.
The team at RMS Beauty has everything you need to know to apply foundation effortlessly and naturally so that all you'll notice is your true beauty, not your foundation.
What Should I Know About Foundation?
Many traditional foundations use silicone to create that silky slip. Smoothing a slippery, blendable foundation onto your skin feels good and usually gives you a flawless finish. You might even be convinced that the foundation is helping your skin.
The catch is that the smooth feel sits on top of your skin rather than caring for it, and silicone comes with a few trade-offs. Here's why.
The Skin Barrier
On the uppermost layer of your skin, there lives an entire community of microflora that helps protect it, maintain your skin's pH balance, and keep your skin looking radiant. Some products can cause your skin barrier to become off-balanced, which can result in irritation and blemishes.
Silicone forms an occlusive film on the skin that can hold oil and debris in place, which some people find leads to congestion. A more breathable formula gives your skin room to stay balanced.
Silicone Can Be Tricky to Remove
Silicones are hydrophobic, which means they resist water. That water resistance can make silicone-based products harder to remove, and over-scrubbing to get them off may leave skin feeling irritated.
Silicone Can Make Layering Harder
Once you apply a silicone-based product to your skin, it forms a slick film that other products can struggle to blend into. In foundation, that's a real problem because you'll always want to apply your concealer after your foundation.
Silicones Linger in the Environment
Some ingredients are persistent, which means they don't break down quickly once they've been rinsed away. Certain silicones fall into that group and can collect in drainage systems and waterways long after you wash your face.
Choosing a silicone-free formula is an easy swap. At RMS Beauty, we've built one that performs beautifully while caring for your skin and the planet.
How Can I Choose the Right Foundation?
Picking a formula you feel good about is the first step in applying liquid foundation like a pro. Once you've settled on a silicone-free foundation liquid, the second step is finding the right shade.
If you already know your skin's undertone, you're on the right track. Undertones can help us narrow down color palettes to certain shade families. If you're not sure what your undertone is or have trouble deciding on the perfect, true-to-you shade, check out our helpful guide.
How Should I Prep My Skin Before Foundation?
Just like you prep ingredients in your kitchen before you begin to cook, you need to prep your skin for foundation application. At RMS Beauty, we believe skincare should start the moment you wash your face and continue through your product application.
Use a Primer
Once you've cleansed and hydrated, you can use a primer to lock in your skincare and give your liquid foundation a grippy surface to cling to.
Product to try: RMS Beauty ReEvolve Radiance Locking Primer. Our rapidly absorbing gel primer is packed with clean, living ingredients that support your skin barrier and help it stay balanced.
For true minimalists, using our primer is enough to give skin a smooth texture and lock in your hydrating skin products all day.
How Should I Apply Liquid Foundation?
Avoiding harsh lines around your jaw, making sure your foundation is blended, and knowing how to add additional product carefully will help keep your foundation looking professional, natural, and believable.
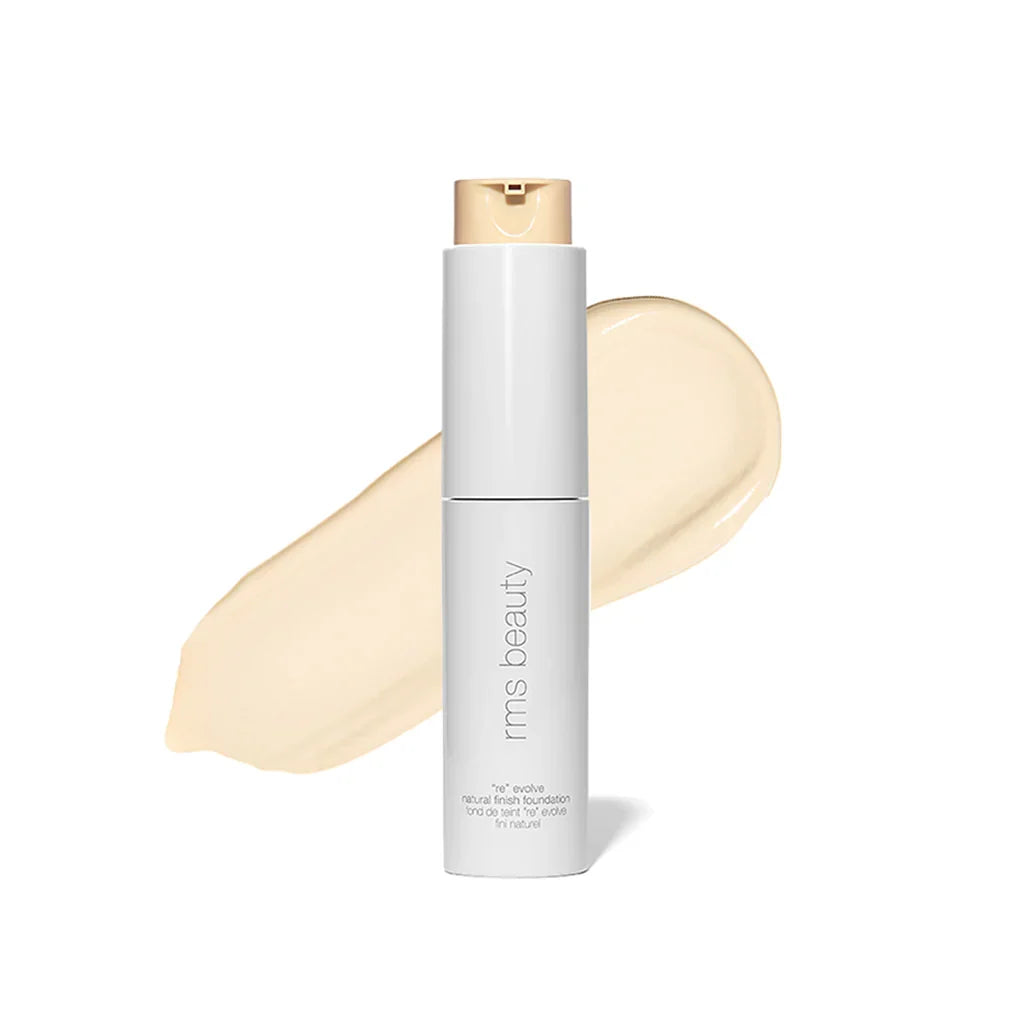
The tutorial below works for virtually any high-quality, blendable liquid foundation. We'll be using RMS Beauty ReEvolve Natural Finish Liquid Foundation.
Our medium coverage liquid foundation gives a natural finish that won't clog pores and lasts 12 hours. Our foundation stands up against sweat and water and contains ingredients that make it beneficial for your skin.
The silicone-free formula contains Tightenyl™, a powerful blend of plant-based ingredients clinically proven to smooth, firm, and tone the skin while you wear it.
Formulated with RMS Beauty's adaptogenic blend of herbs that help hydrate, nourish, and support the skin barrier, this foundation effectively blurs the lines between skincare and cosmetics while blurring out imperfections.
The easiest way to apply liquid foundation is with your fingertips or a beauty sponge. Here's how each tool compares, so you can pick the one that suits your routine.
Fingers, Sponge, or Brush?
|
Tool |
Finish |
Best For |
Quick Tip |
|
Fingertips |
Skin-like, sheer to medium |
Quick routines and dry or mature skin |
Warm the product first so it melts in |
|
Damp sponge |
Soft and diffused |
Even, buildable coverage |
Press and bounce rather than swipe |
|
Foundation brush |
Smooth and polished |
Buffing in fuller coverage |
Swirl to sheer out, press to build |
Step 1
Apply a half pump of product to the back of your hand. If you are using a different liquid foundation, you'll want to measure about a pea-sized amount of your foundation onto your hand. Avoid dipping dirty brushes or sponges into the container or using your fingers to scoop out product. Doing so can introduce bacteria into your product that may later transfer to your skin.
Step 2
Dampen your beauty sponge. RMS Beauty's Skin2Skin Beauty Sponge, a latex-free makeup sponge, is designed with a unique tip that resembles a fingerprint for even more natural application. Using the tip of your sponge, lift a small amount of product from the back of your hand.
Step 3
Begin to blend foundation by pressing it into the skin in areas where coverage is needed most. Usually, this will mean the eye area, cheeks, nose, chin, and forehead. Unless you have blemishes or imperfections near your jawline, you don't need to apply foundation in those areas.
Blend outward, and your foundation should naturally fade toward the edges of your face so you don't end up with a harsh, noticeable line.
Step 4
Repeat the previous steps until you have evenly distributed the first layer of foundation to your skin. If you don't need much coverage, you can stop here and move on to step 6. However, if you need additional coverage in some or all areas, move to step 5.
Step 5
Buildable coverage is what separates a high-quality foundation and a low-quality foundation. Coverage should be adjustable for your specific needs. Once the first layer of foundation has dried completely, you can add additional coverage with your beauty sponge where you need it.
Using the same technique of applying the foundation to the back of your hand and blending it in with the sponge, add the coverage you need. Avoid adding thick layers of foundation under the eyes, which can make coverage look cakey.
Step 6
Once you've applied the foundation you need, go in with a concealer to help tone down redness and dark circles or cover blemishes. RMS Beauty's UnCoverup Concealer, a creamy, skin-loving concealer, is formulated with ingredients like coconut oil to help support your skin, soothe irritation, and blend effortlessly with other RMS products.
Need help finding a concealer shade? We've got a helpful guide for that, too.
Step 7
Once you've applied concealer, you can consider your face makeup complete and begin blending in bronzers, luminizers, or blushes. You don't need to use a setting powder to "set" your liquid foundation, as most formulas today include ingredients that help them grip the skin and stay put.
5 Easy Tips for Applying Liquid Foundation With Fingers
Fingertips are the original makeup tool. RMS Beauty's Skin2Skin tools are even designed to mimic skin-to-skin application, which says a lot about how natural the result can look. Try these five tips the next time you skip the sponge.
- Start with clean, dry hands. Wash before you begin so you aren't pressing oil or residue into freshly prepped skin.
- Warm the product first. Rub a small amount between two fingertips for a few seconds. Warmth softens the formula so it melts into skin instead of sitting on top.
- Tap, don't rub. Use light, pressing taps to settle foundation in place. Rubbing can lift your primer and push product around unevenly.
- Use your ring finger around the eyes. Your ring finger naturally applies the lightest pressure, making it ideal for the delicate under-eye area and the sides of the nose.
- Work one zone at a time. Liquid formulas start to set as you blend, so finish one area before moving to the next. A final pass with a clean fingertip softens any edges along the hairline.
What Are Some Liquid Foundation Tips and Tricks?
Don't get frustrated if your foundation doesn't look as effortlessly natural as you had hoped the first time you apply it. Getting it right takes practice, but a few simple habits make great coverage much easier.
- Be conservative. You can always add more, but removing too much is harder. Start with just a small amount of foundation and build from there.
- Avoid the urge to "bake" your makeup with excess amounts of loose or pressed powder. You don't need it, and it may leave your makeup looking cakey.
Conclusion
Applying foundation flawlessly is easy once you have a little practice. Make sure you're using a silicone-free foundation with skin-beneficial ingredients, and always prep your skin with the right skincare products and primer before you start.
For makeup that cares for your skin while it performs, trust RMS Beauty. Our formulas use raw, food-grade, and organic ingredients that work with your skin to support balance, hydration, and natural radiance. Start with our silicone-free liquid foundation and build your base from there.
Frequently Asked Questions
Still have questions about liquid foundation? Here are quick answers to the ones we hear most.
What Is the Best Way to Apply Liquid Foundation on Mature Skin?
Hydrate first, then press a thin layer of a lightweight, natural-finish formula into skin with fingertips or a damp sponge. Skip heavy powder, which can settle into fine lines.
Can I Apply Foundation Without Primer?
Yes. Well-moisturized skin can hold foundation on its own, though a hydrating gel primer helps makeup grip and wear longer through the day.
How to Choose the Right Foundation Formula for Oily Skin?
Look for a lightweight liquid with a natural finish that won't clog pores, and apply thin layers only where you need coverage. Blotting papers through the day work better than piling on more powder.
How to Apply Liquid Foundation Evenly Step by Step?
Prep with primer, dot a small amount on the center of your face, then press and blend outward in thin layers. Let each layer dry before building, and finish with concealer where needed.
What Are the Best Foundation Brushes and Sponges for Application?
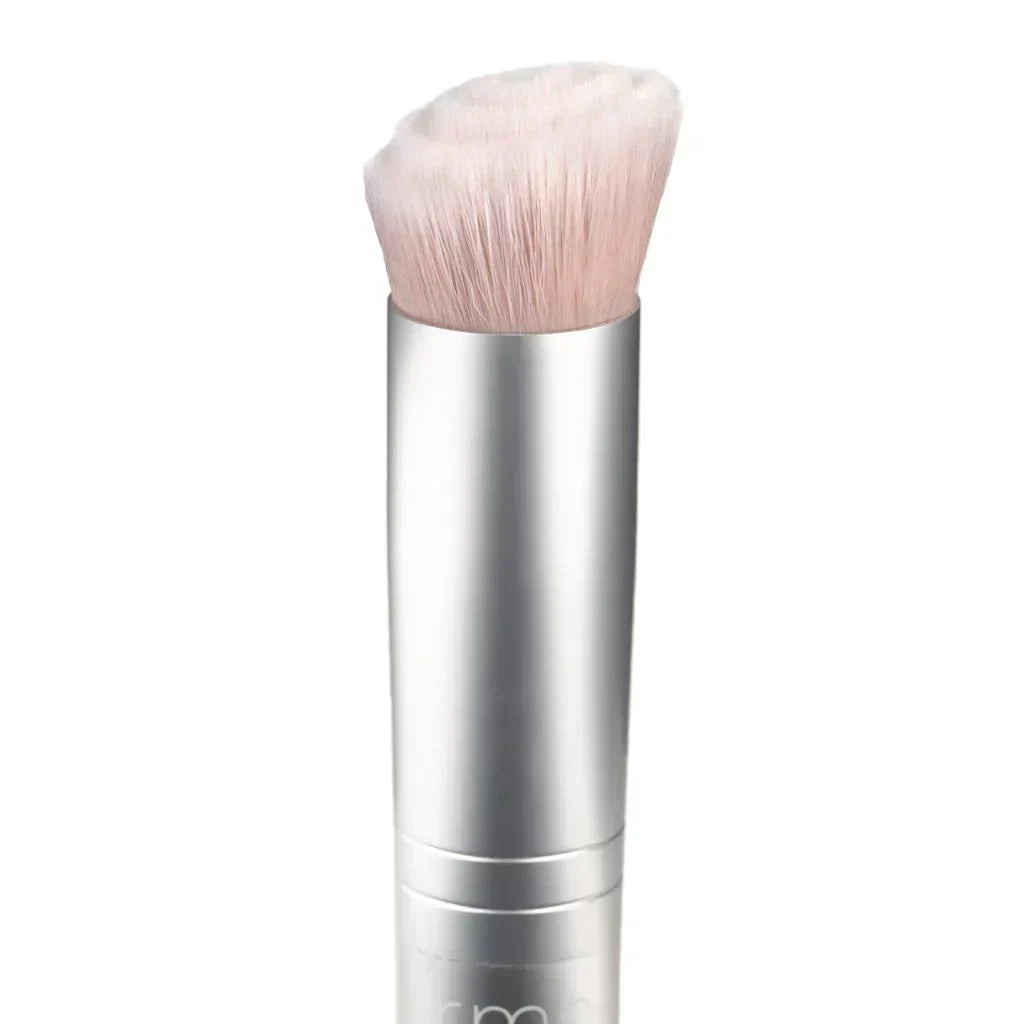
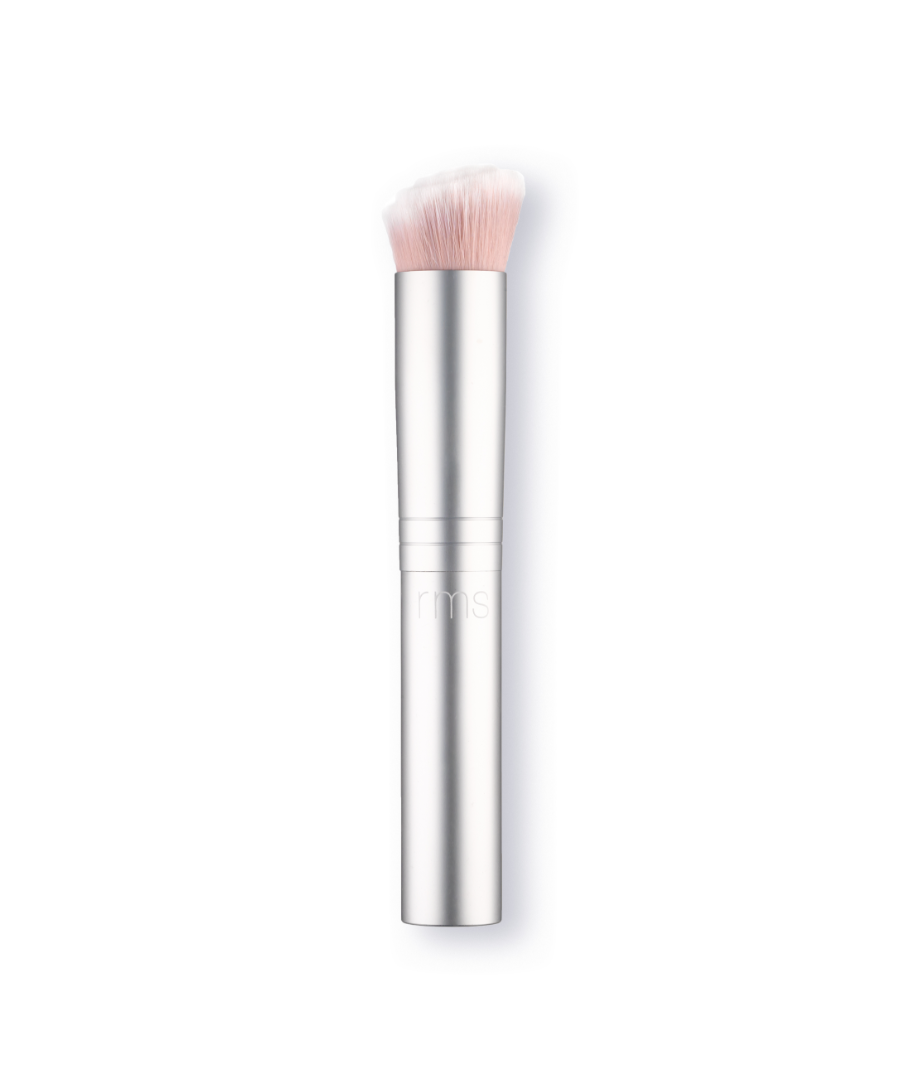
A latex-free beauty sponge with a precise tip gives a soft, diffused finish, while a swirl-bristle foundation brush presses color into skin without dragging. Choose based on the finish and coverage you prefer.
Sources:
The human skin microbiome | Nature Reviews Microbiology
Main Uses and Environmental Emissions of Volatile Methylsiloxanes | SpringerLink
Can Coconut Oil Be Used As a Moisturizer? | Sutter Health
Shop The Blog


ReEvolve Radiance Locking Primer


ReEvolve Natural Finish Liquid Foundation


UnCoverup Concealer


Skin2Skin Beauty Sponge

Skin2Skin Foundation Brush