Skip to main content


How To Clean a Makeup Sponge for Flawless, Worry-Free Application
You use it faithfully every day, but when was the last time you actually cleaned your favorite makeup sponge? A well-loved beauty sponge can gradually become a breeding ground for bacteria, and that buildup shows up as breakouts, uneven application, and irritated skin.
Your sponge deserves the same care you give the rest of your routine. Below, we'll cover why keeping it clean matters so much and exactly how to wash yours so every application feels fresh.
What Are Makeup Sponges and How Do They Work
Whether you're a foam blender professional or a makeup sponge novice, here's what you should know.
Beauty sponges are absorbent tools that apply liquid or cream makeup smoothly and evenly in a wet or dry method. A good sponge blends cosmetics effortlessly and presses makeup into your skin so that it doesn't sit on top and look unnatural. The result is an airbrushed look that is truly flawless.
You can reach for a cosmetic sponge for foundation, concealer, cream-based blush, shadow, or highlighter. Dampening it first helps move makeup easily and "stipple" it into your skin for a more textured, true-skin look.
Different shapes and styles of sponges can make it much easier to apply makeup in hard-to-reach spots like corners of your eyes and nose and make blending near the hairline and jawline seamless.
What Are Makeup Sponges Made Of
Most sponges are made of some type of foam. Not all foams are created equal, though. Be wary of sponges that contain latex. If you have a latex allergy, using a makeup sponge that contains latex could present a life-threatening emergency. Even if you aren't allergic to latex, the material is a known skin irritant and is best to avoid if you have sensitive skin.
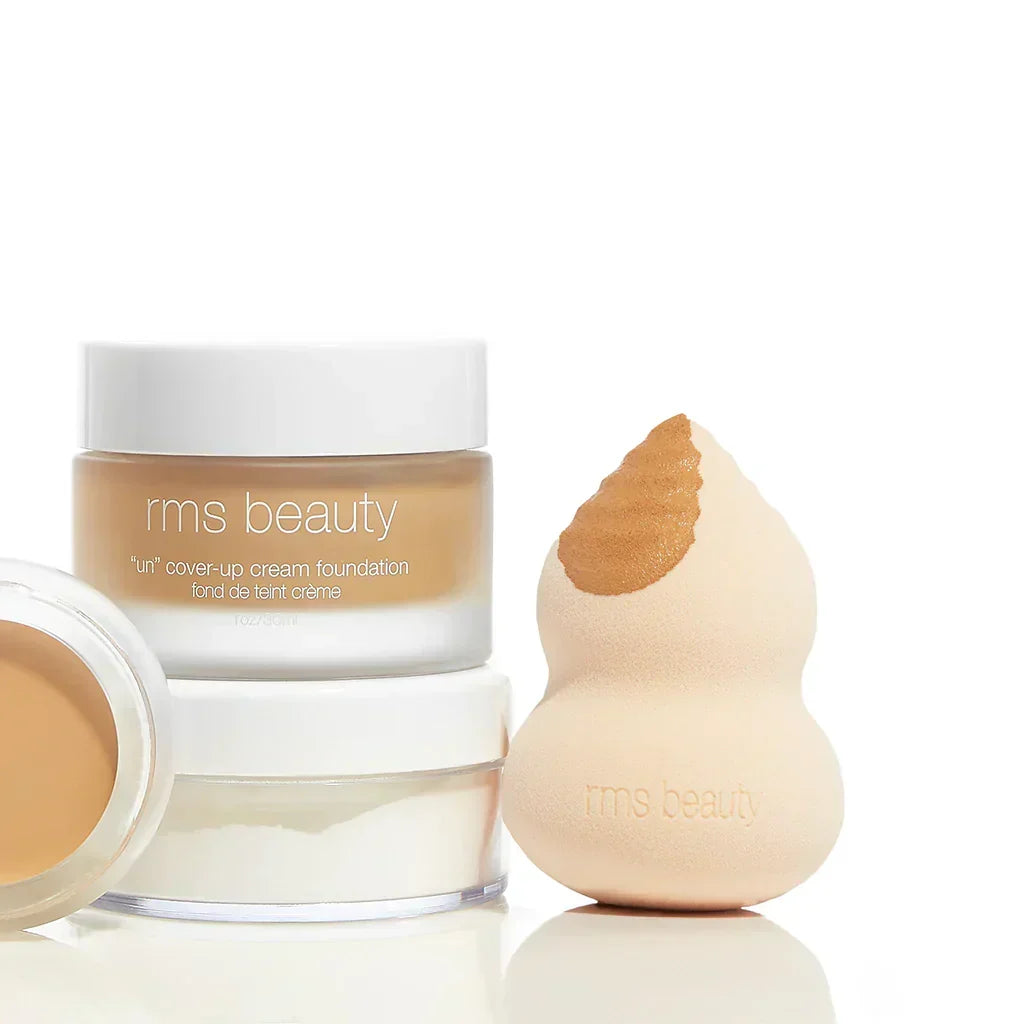
RMS Beauty's latex-free makeup sponge is made from high-grade, antimicrobial foam designed to resist bacteria buildup while keeping product absorption to a minimum. The unique swirl pattern on the top mimics skin-to-skin application for targeted coverage, while the smooth, rounded side makes blending and blurring effortless.
Why a Clean Makeup Sponge Matters
Because of their absorbent nature, beauty sponges can be a breeding ground for bacteria if you don't clean them properly. Water that isn't removed feeds bacteria and helps them grow.
Day after day of continued use usually involves multiple product applications on the skin. Bacteria from the skin transfer to the sponge, and bacteria from the sponge transfer right back. A sponge can become a hotspot for bacteria in just a few days without a good, deep clean.
What Bacteria Build Up in Dirty Sponges
Researchers at Aston University found that 70–90% of all cosmetic products tested were contaminated. Makeup sponges ranked as the most contaminated beauty tool in the study, with three primary bacteria identified:
- S. aureus, a common staph bacteria typically found in warm, damp areas of the body
- E. coli, a bacteria most often associated with food contamination and poor hand hygiene
- Citrobacter freundii, a bacteria found in human and animal fecal matter
All three are linked to skin infections, food poisoning, and urinary tract infections. Much like a cell phone screen, the tools we touch the most are havens for some unpleasant germs.
Signs Your Makeup Sponge Needs Replacing
No U.S. regulations currently require manufacturers to print an expiration date on cosmetic applicators. A good rule of thumb is to replace any sponge that has developed an off smell, visible discoloration, or broken-down texture.
Even a well-cared-for sponge that has been regularly cleaned should be replaced every 3–6 months, depending on how often you use it. Daily users should lean toward the three-month mark.
How To Clean a Makeup Sponge Step by Step
Keeping your beauty tools clean is part of keeping your skin clear. Here's a simple routine to follow after every use.
1. Pick Your Cleanser
A facial cleanser works, but mild dish soap, baby shampoo, or a gentle cleansing bar all get the job done without wasting your skincare product. If you use oil-based makeup, make sure your cleanser has a little oil. Coconut oil, for instance, has antimicrobial and antifungal properties that help loosen oil from cosmetics and break it down for easier removal.
2. Add a Small Drop and Lather
Squeeze a pea-sized amount of cleanser onto your sponge. The foam will naturally create bubbles, so a little goes a long way.
3. Massage Under Warm Water
Using warm water, gently massage your sponge to loosen makeup, dirt, and oil. Running water works best to cut down on excess suds. You'll know your sponge is clean when the water runs clear instead of tinted with makeup.
4. Rinse Gently
When rinsing, avoid twisting, which could damage the foam or cause it to tear. If there's a heavy buildup, repeat the lather-and-rinse process until the water runs clear.
5. Soak Stubborn Spots
For stains that won't lift, let your sponge sit in soapy water for about 10 minutes to help break up the residue. Then, follow the steps above until clean.
6. Air Dry Completely
Allow your sponge to air dry completely. Do not attempt to put it in the dryer or use any hot tool (like a blow dryer) to speed up the process. Heat could damage the fibers and even melt the foam, depending on its construction.
Makeup Sponge Cleaning Methods at a Glance
| Method | Best For | How Often | Drying Time |
|---|---|---|---|
| Gentle soap and warm water | Daily quick clean | After every use | 2–4 hours |
| Baby shampoo or dish soap | Moderate buildup | Every 2–3 uses | 2–4 hours |
| Oil-based cleanser | Oil-based makeup removal | Weekly deep clean | 3–5 hours |
| 10-minute warm soak | Stubborn stains and residue | As needed | 4–6 hours |
| Garment bag in washing machine | Heavy soil (check manufacturer instructions) | Monthly | Varies |
Five Habits for a Cleaner Makeup Routine
1. Always Start With Clean Hands
Before you apply your makeup, wash your hands thoroughly. Hand washing is one of the most effective ways to combat germs and keep your makeup tools clean while you use them on your skin.
2. Keep Your Tools in Good Shape
Your brushes don't have to be brand new, but they should be in good condition and clean. Brushes scraping the bottom of a cluttered bag are long overdue for a wash. Grab a brush cleaner before using them on your skin.
3. Use a Spatula for Product
Touching brushes and fingers to your product introduces bacteria to both the product and the tools. Instead, use a disposable spatula to dole out a small amount onto the back of your hand. Applying from there reduces contamination across your entire routine.
4. Break Old Habits
Blowing powder off your brush, wiping product away with your hands, or touching your face with dirty hands may feel routine, but none of them should be. Avoid practices that lead to contaminated products and dirty brushes.
5. Replace Products and Tools on Schedule
Old makeup and worn-out applicators can harbor the same bacteria that cause breakouts and skin infections. A good rule of thumb is to replace liquid and cream products within three to six months of opening and to swap in a fresh antimicrobial beauty sponge on a similar schedule.
Frequently Asked Questions About Makeup Sponge Care
How often should I clean my makeup sponge?
A quick rinse after every use is ideal. Plan for a deeper clean with soap and warm water at least once a week to prevent bacteria from building up inside the foam.
Can I clean my makeup sponge in the microwave?
Microwaving a damp, soapy sponge can kill some surface bacteria, but the heat can also damage certain foams and create uneven hot spots. A thorough hand wash followed by air drying is the safest approach.
What is the best soap to clean a makeup sponge?
Mild dish soap, baby shampoo, or a gentle facial cleanser all work well. For oil-based makeup, an oil-infused cleanser like one containing coconut oil helps break down stubborn residue more effectively.
How do I know when my makeup sponge is too old to use?
Look for an off smell, visible discoloration, crumbling texture, or stains that won't wash out. Even a well-maintained sponge should be replaced every three to six months.
Should I wet my makeup sponge before every use?
Yes. Dampening your sponge before application helps the foam expand slightly, which creates a smoother blend, reduces product absorption, and gives you a more natural, skin-like finish.
What makes the RMS Beauty Skin2Skin Sponge different from other beauty sponges?
The Skin2Skin Beauty Sponge is made from premium, latex-free antimicrobial foam that resists bacterial growth between uses. A signature swirl pattern on one side provides targeted coverage, while the rounded side blends and blurs with minimal product waste.
Final Thoughts
Clean tools lead to cleaner skin, and caring for your sponge is one of the simplest habits you can build into your routine. A few minutes of washing and thorough air drying after each use go a long way toward keeping breakouts at bay and your application feeling fresh.
Starting with a thoughtfully designed clean beauty sponge makes the whole process easier. RMS Beauty's Skin2Skin Beauty Sponge pairs antimicrobial foam with a latex-free, plush design that's built for daily use and simple upkeep. Pair it with your favorite cream and liquid formulas for a flawless, worry-free application every time.
Shop The Blog


Skin2Skin Beauty Sponge