Skip to main content


Makeup Sponge: What Are They and What Are They Used For?
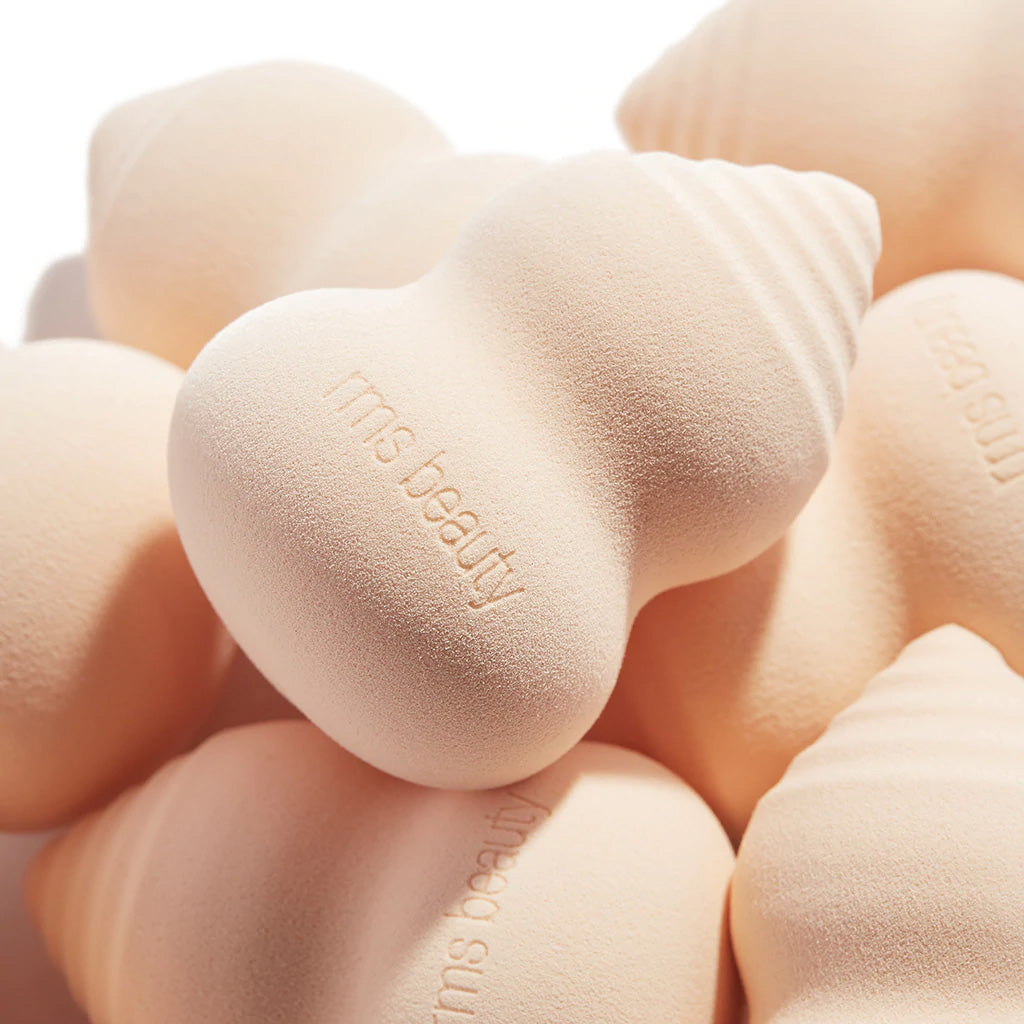
If you grew up applying your foundation with little foam wedges, the idea of a makeup sponge may sound a little dated. The makeup sponge, however, has grown up right along with you. New improvements to this old beauty standard have made it a tool you’ll definitely want in your cosmetic bag.
At RMS Beauty, we created a makeup sponge that’s safe, effective, and closely mimics skin-to-skin application. Here, we’ll talk about how to use a makeup sponge to create perfect makeup blends, and also what you should do to make sure your makeup sponges are always clean.
What Is a Makeup Sponge?
A makeup sponge is a soft tool you can use to apply liquid and cream makeup products. Makeup sponges can be made of many different materials, so it’s important to make sure the one you choose is free from common skin irritating ingredients, like latex.
For sensitive skin, the best sponges will be made from skin-safe foam. Our sponge is made of antimicrobial foam to be gentle on all skin types and to drive away bacteria.
What Does a Makeup Sponge Do?
Makeup sponges help you apply liquid makeup. If you’re a pro with your fingertips, this might seem redundant, but using a makeup sponge can help you achieve a smoother finish, help blur harsh lines, and even help regulate the amount of product you need.
Are Makeup Sponges Better Than Brushes?
Brushes and sponges are apples and oranges; you simply cannot compare them. While there are brushes designed to apply liquid products to your skin, they simply offer a different application technique.
That said, when it comes to foundation brush vs sponge, each one has clear strengths:
- Sponge: A damp sponge presses product into skin for a sheer, natural, skin-like finish. It’s easy to control and very forgiving for beginners.
- Brush: A brush applies product faster, builds coverage more easily, and is the better choice for powders. Our Skin2Skin Foundation Brush buffs foundation in without streaks.
If you are a beginner or just want a stress-free, easy way to blend your makeup and get a completely streak-free finish, a makeup sponge is your go-to.
Are Beauty Blenders and Makeup Sponges the Same Thing?
Yes and no. The beauty blender is essentially the most current type of makeup sponge. If you’re wondering about the old pull-apart wedges, they do still exist, but they’re much less popular and harder to find.
A beauty blender sponge has a few upgrades from its little wedge predecessors:
- They’re designed to be used for wet application. Before using a makeup sponge, you’ll dampen it with warm water. You’ll then squeeze out the excess water before you begin to use your liquid makeup product with it, applying the product to the back of your hand and picking up the makeup with the sponge.
- They’re reusable. Unlike the wedge, makeup sponges can be rinsed with a mild soap and reused multiple times. This creates less product waste, saves money, and saves space in your cabinet.
- They have a unique design. RMS Beauty’s Skin2Skin Latex-Free Makeup Sponge is designed with a swirl of texture on the top which mimics application with a fingertip. They’re also rounded on the bottom and angled at the top, allowing you to get blendable coverage in small spaces like under your eyes and around the corners of your nose.
While those little wedges were usually made out of latex or who knows what kind of weird material, beauty blenders are usually made with safer, skin-friendly foam.
Different Types of Makeup Sponges
Not every sponge for makeup works the same way. Shape and material change how much product a sponge absorbs, how precise it is, and the finish you get. Here are the most common types:
- Teardrop or egg-shaped sponges. The most popular shape, with a rounded base for blending large areas and a pointed tip for small spaces like under the eyes and around the nose.
- Angled or flat-edge sponges. A flat or angled side helps with contouring, sharp lines and getting close to the lash line. Our Skin2Skin Beauty Sponge combines an angled top with a rounded base, so you get both in one tool.
- Wedge sponges. The classic triangle shape, usually disposable and often made with latex. They work for quick touch-ups but don’t blend as seamlessly.
- Mini sponges. Small, precise sponges built for concealer, under-eye areas and detail work.
- Silicone sponges. They don’t absorb product, so you use less and they’re easy to clean, but they spread rather than blend, which can leave a less seamless finish.
- Powder puffs. Soft velour or cotton puffs made for pressing powder into the skin. Use them dry, never damp.
How to Choose the Right Sponge for Your Needs
The best sponge for you depends on what you’re applying, your skin, and the finish you want.
- Start with material. If you have sensitive skin or a latex allergy, choose a latex-free sponge. Look for soft, dense foam that doesn’t feel scratchy against your skin.
- Match it to your products. Sponges shine with liquid and cream formulas like foundation, concealer and cream blush. For powders, a brush or powder puff works better.
- Think about your finish. A damp sponge gives a sheer, natural finish. Using it slightly drier builds more coverage.
- Choose the right shape. If you want one tool for everything, pick a sponge with both a broad, rounded side and a precise tip.
- Plan for upkeep. Choose a sponge you’ll actually clean, and replace it about every three months, or sooner if it tears, crumbles, or keeps a smell after washing.
Can I Use a Makeup Sponge To Apply Powder Products?
A thousand tutorials may tell you to use a sponge to “bake” your makeup (i.e. applying powder over your liquid products to set them) but this usually results in a cake-like effect that makes your skin look dry, powdery, and artificial.
It’s best to use a brush to apply powder products. You’ll get a softer, more translucent finish and avoid getting your powder products damp from the sponge.
What is a Makeup Sponge Used For?
Once you master the art of using a makeup sponge, there’s no limit to how well you can blend your liquid and cream-based products. Here’s how we love to use makeup sponges to create flawless finishes like professional makeup artists.
Foundation
Use your makeup sponge to effortlessly apply foundation to all areas of your face and jawline. Once you’ve applied your moisturizer, dampen the sponge and lift a little product from the back of your hand.
Begin applying foundation in upward swipes. Gently bounce the sponge on your skin (don’t press) to blend. This will help you avoid streaks and create a smooth textured finish. When applying foundation with brush vs sponge, you’ll notice the difference right away: a brush gives fuller, more polished coverage, while a sponge leaves a softer, more skin-like finish. For a full walkthrough, see our step-by-step guide to applying liquid foundation.
Concealer
Makeup sponges can make you an expert at applying concealer. Using the small end of the makeup sponge, lift the concealer from the back of your hand and gently dab it on areas that need coverage. Whether you need full coverage or lightweight coverage, you can use the makeup sponge.
Blending
If you’ve been looking for the perfect tool for blending, you’ve found it. Nothing gives you more seamless blending than a makeup sponge. Use the larger, rounded edges for blurring lines and creating the most believable, natural-looking makeup finishes.
Liquid or Cream Products
Makeup sponges work best with liquid or cream products. In fact, if you’ve been intimidated by cream blush because you’re afraid you won’t get it right, a makeup sponge makes the application virtually foolproof.
Using your sponge, you can gently press into the cream-based blush and dab the product on your cheeks, blending the edges until you have a smooth, natural-looking flush.
Powder
Our sponge is just like you: beautifully versatile. Feel free to use it for powder products, too.
How Often Should a Makeup Sponge Be Cleaned?
You should rinse your dirty sponge after each use. Hold it under the tap and squeeze it until the water runs clear.
Use a mild makeup brush soap, mild natural shampoo, or even a mild natural dish soap to deep clean it once a week, but only one small drop or you’ll never be able to get all of the soap out of your sponge.
How Do I Clean a Makeup Sponge?
Cleaning a dirty sponge is easy, and most of the time you really don’t need more than water to get it clean. Most sponges will end up with makeup stains, and that’s okay. A stain doesn’t mean the sponge is actually dirty.
Don’t waste your skin cleanser on your makeup sponge. Mild dish soap or a makeup brush cleanser is perfectly fine for cleansing your sponge.
Don’t place your sponge in a dishwasher or washing machine, as you can damage the sponge and the lather from the heavier soaps can be impossible to remove.
Lastly, don’t place your makeup sponge in the microwave. While some makeup sponges may tolerate the heat, most won’t and it’s not a safe practice. Believe it or not, not all Tik Tok videos give you the right answer.
Are Big or Small Makeup Sponges Better?
Makeup sponges are usually available in a standard size and shaped such that you get the benefit of both a smaller edge for precision and a wider base for blending. If you’re comfortable using the sponge, that’s the perfect size.
Conclusion
Makeup sponges have evolved into sophisticated makeup applicators that can help you shape, contour, and add dimension to your base makeup, concealer, and any other liquid or cream-based products you use.
A good sponge is made of soft material and has a variety of different shapes (a wide base and pointed tip) to help you apply even the most difficult liquid foundations or liquid highlighters with ease.
Rethink the makeup blender and learn the real techniques sponges can help you master. RMS Beauty is your go-to source for the best blending sponges and the cleanest, greenest color cosmetics to use with them.
Frequently Asked Questions
What type of sponge is best for makeup?
For most people, a latex-free blending sponge with a rounded base and a precise tip is the most versatile choice. It handles foundation, concealer and cream blush in one tool. Our Skin2Skin Beauty Sponge adds an angled top for contouring and close work. For powder, reach for a brush or powder puff instead.
Is it better to use a wet or dry makeup sponge?
For liquid and cream products, use a damp sponge. Wet it, then squeeze out all the excess water so it’s damp, not dripping. A damp sponge absorbs less product and blends more seamlessly, giving a natural finish. A dry sponge soaks up more product and can leave streaks. The only time to use a dry tool is with powder, and a brush or puff works best for that.
How do you match a sponge to your skin type?
Match your technique, not just the sponge:
- Dry skin: Use a damp sponge and bounce product in for a dewy finish.
- Oily skin: Use a lightly damp sponge and press product in, then set the shiny areas with a brush.
- Sensitive skin: Choose latex-free and clean the sponge often.
- Mature skin: Use thin layers and gentle bouncing so product doesn’t settle into lines.
- Acne-prone skin: Wash the sponge after every use and replace it often.
When should you use a makeup sponge over a makeup brush?
In the brush vs sponge for foundation debate, choose a sponge when you want a natural, skin-like finish, sheer to medium coverage, or seamless blending under the eyes and around the nose. Sponges are also ideal for cream blush, like our Lip2Cheek, and great for beginners. Reach for a brush when you want faster application, fuller coverage, or you’re working with powder.
Are makeup sponges better than makeup brushes for blending?
For liquid and cream products, a damp sponge usually gives the most seamless blend with the fewest streaks. Brushes blend well too, especially for buffing foundation and blending powders. Many makeup artists use both: a brush to apply foundation quickly, then a sponge to press and perfect the finish. Our guide to makeup brush types can help you pick the right brush.
Sources:
EWG Skin Deep® | What is RUBBER LATEX
Unseen 2019: The ugly side of beauty waste|LiveMint
Shop The Blog


Skin2Skin Beauty Sponge

Skin2Skin Blush Brush


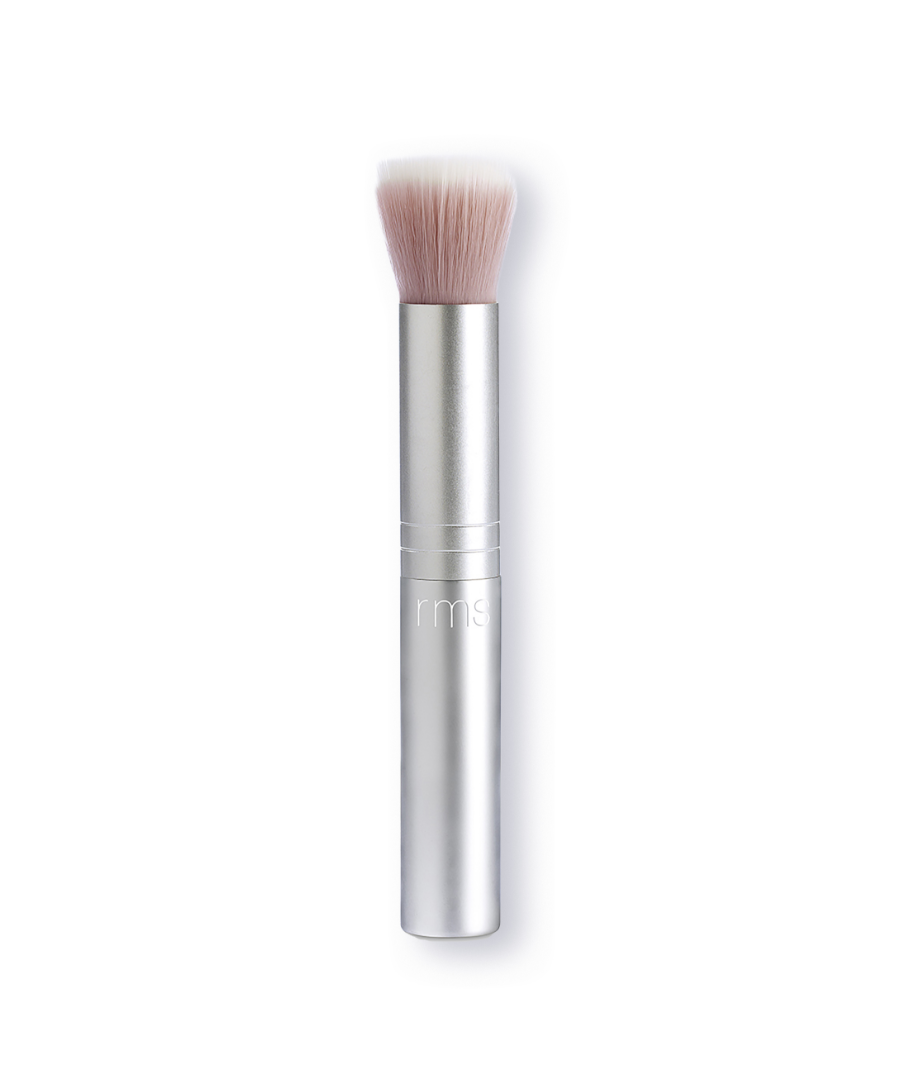
Skin2Skin Everything Brush
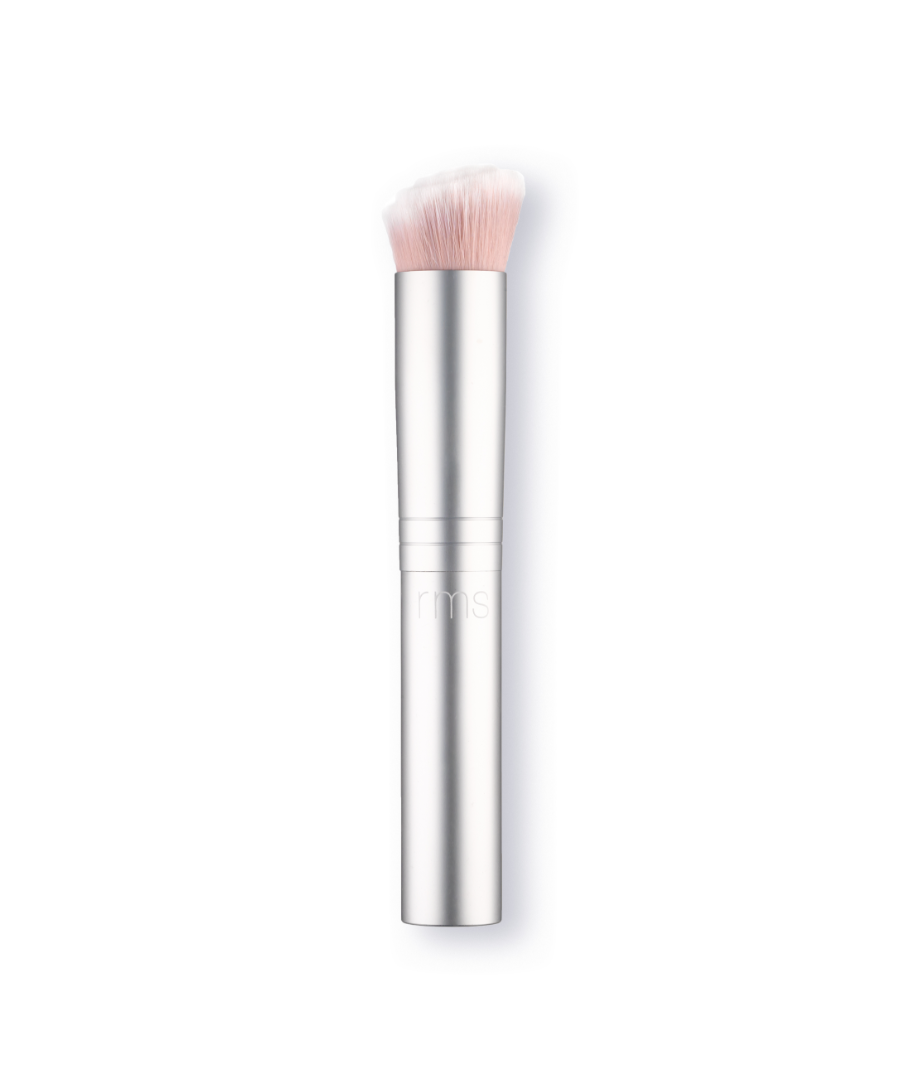
Skin2Skin Foundation Brush
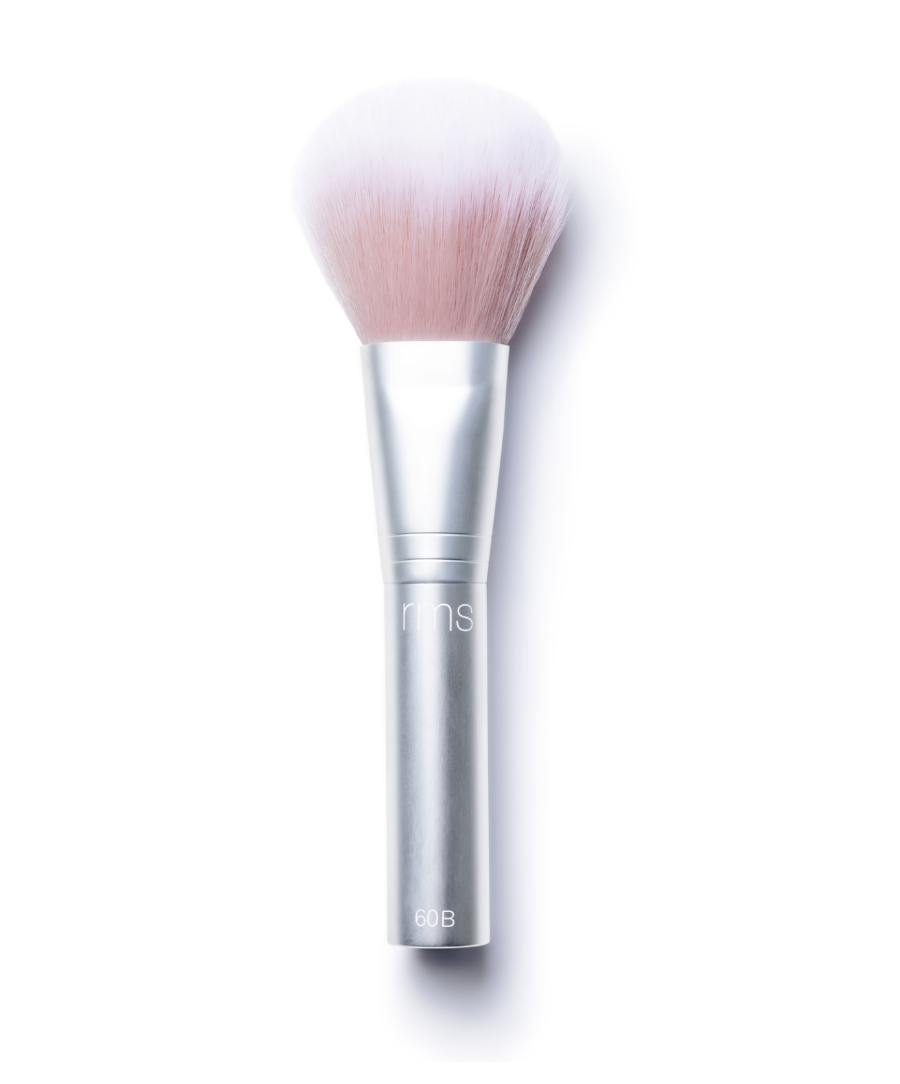
Skin2Skin Powder Blush Brush